The Renovation
In August 2016, we bought at 1996 Safari Sahara Motorhome with the plan of setting off for a year on a cross-country road trip. Our rig was in excellent condition, but rather dated. We figured that if we were going to spend a year in this thing, then we've got to make it feel like home.
When we set out on our re-design, we wanted something that was a little more bold and fun, because after all its just an RV! The funny thing is, our final product is not a big departure from what our home looks like. I guess we couldn't get away from the style we love.
Carpet to Vinyl Wood
The first thing that had to go was the carpet. On our 700 mile drive from where we bought it in Reno back to San Diego, I pretty much had an allergy attack the whole time. The carpet was 20 years old and harbored all kinds of dust and allergens.

We choose a Lowes brand Vinyl floor in wood slabs. It looks just like a wood floor, but is super durable and easy to clean. We knew we would be out in the wilderness and with dogs, so trekking dirt in and out would be unavoidable. We are super happy with how easy these floors were to install and cut to fit around non-standard edges.
Brighten up the Space
We didn't want to be in a dark space known as standard design in RVs since we knew we would be spending a lot of time inside. The original wood finishes had an 80's looking warm oak that made the interior quite dark. We decided instead to paint the cabinets with Annie Sloan chalk paint and the walls with a sea foam green Behr paint. It instantly brightened the entire space.

It was a challenge to paint the cabinets as we have so many and they needed probably 5 coats. In hindsight, I probably wouldn't have done the white chalk paint and perhaps choose a darker color requiring less coats. We loved using Annie Sload paint because we didn't have to sand down the cabinets at all.
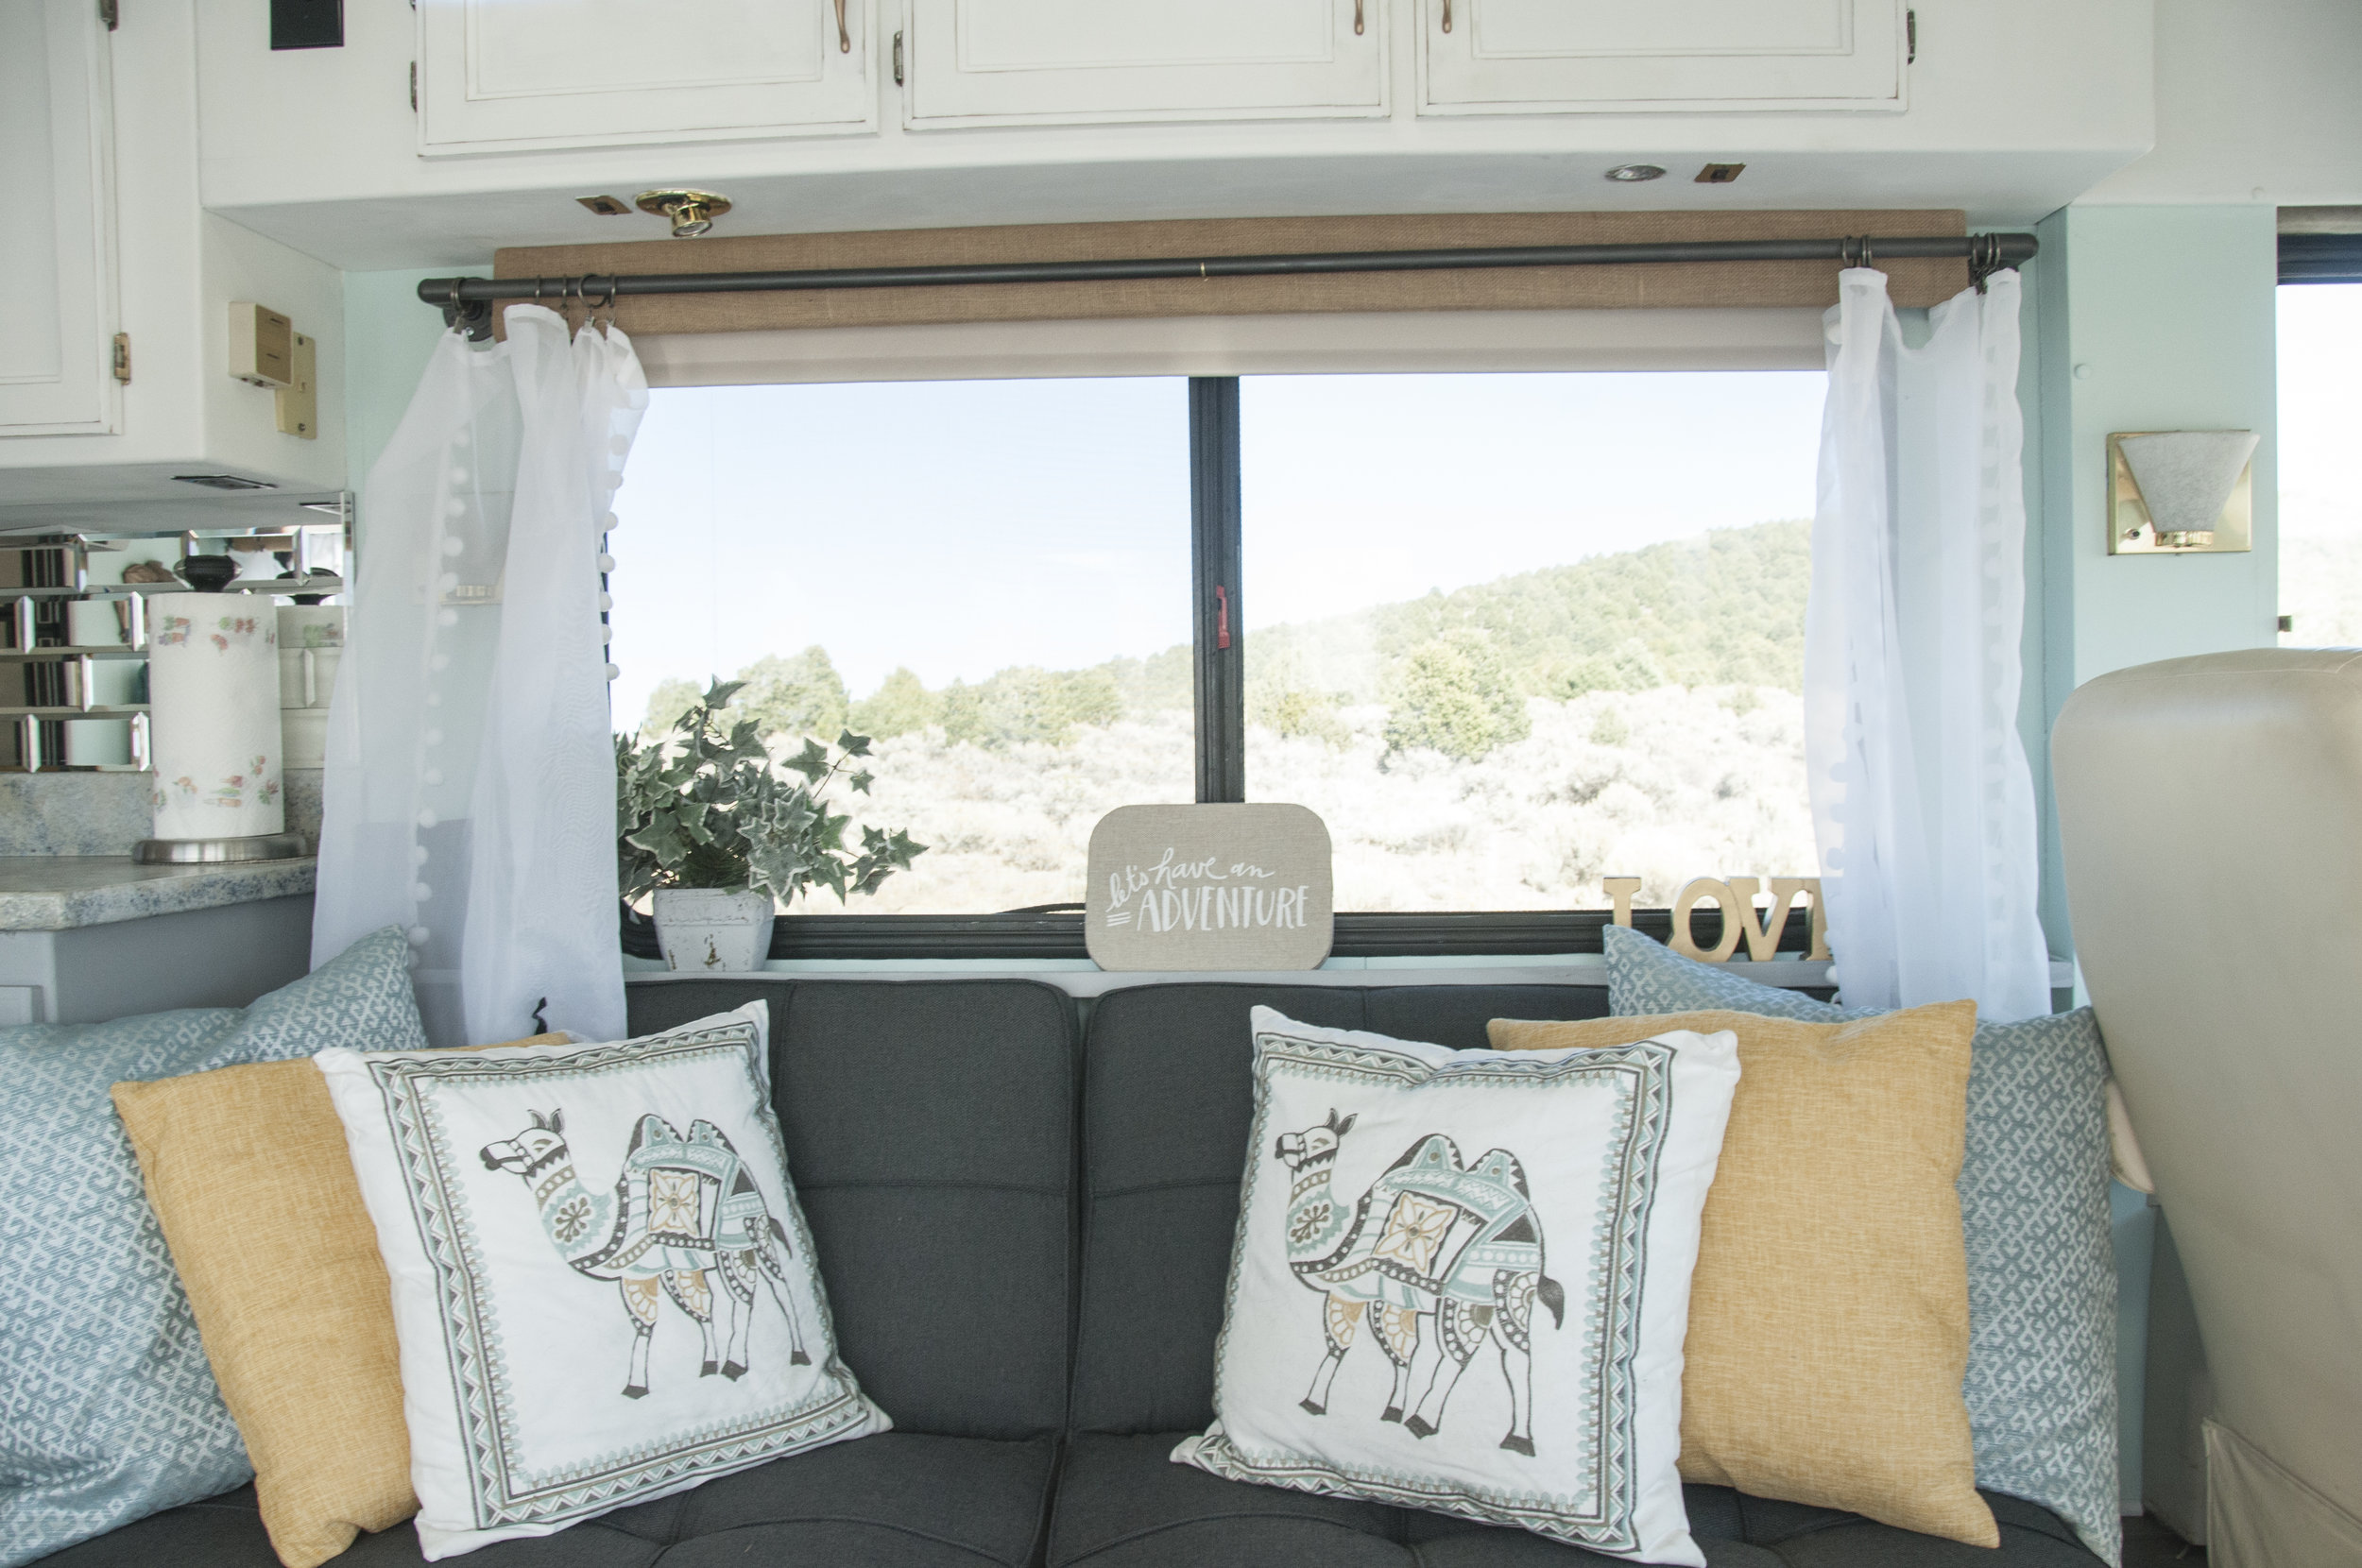
New Window Treatments
After the floor and the cabinets, we took out the old noisy blinds and instead put in fabric blackout shades. This greatly improved the experience while driving so we no longer have to hear the vibrational noise of the blinds crashing into each other.

We also re-upholstered the valences with burlap fabric to get rid of the dated and dirty original ones. We handmade some industrial looking pipes as curtain rods and I made sheer white cafe length curtains with cute white balls as trim to finish it. We think it turned out sweet and bright!
Mirrored Backsplash
The old backsplash had a plastic coating that made us feel like we were in a doctor's office. We pulled that out and installed beveled mirror tiles with a sticky back so it was easy to do on our own. It turned out great and the mirrored look has made our RV look so much bigger.

New Countertops
Getting a new countertop was out of the budget, so we found a solution to get the look we wanted without the cost. Using faux granite paint, we were able to mimic the look of granite in just a few coats. Other RV owners automatically think its granite and ask about the weight issue. They are shocked when we tell them we just painted it! We did the same for the bathroom countertop as well.

For accent counters, we used a marble print vinyl wrap which turned out great and is super durable.
Faux Stainless Steel
Now that everything was getting brighter, the refrigerator and ice maker started to look like an eyesore with their brown faces. We used stainless steel vinyl sheets to cover the front for an instant revamp. The appliances look like they are brand new, not 20 years old!

Couch Reupholstering
It is really worth noting that none of our remodeling project went as planned. In most cases, we had do divert to Plan C or D when the previous tries failed. This was both an interesting challenge as well as an incredibly frustrating experience, but turned out to be so worth it in the end.
Every time we said, “Oh, that should be really quick to do," it actually turned into a several week process. Towards the end, it became an inside joke when we'd say it'll take only a few hours, knowing darn well we were in for a big project.
The final project in the interior remodel was reupholstering the couch. We tried to hire an upholsterer but all we got were quotes way over our timeline. We wanted to get on the road by October 1, 2015.
So we decided to brave it on our own and watched a lot of YouTube videos on how to reupholster furniture. We thought we had a handle on it, however as we started to disassemble it, it became obvious that we needed to buy a new one.
But there was a problem...none of the couches we could find would fit the space. What were we gonna do? After much research we decided to just buy a futon with the hopes of replacing it in the future. However, now that we've been on the road quite a while, I don't think we will. Its been working out nicely! Click here to see all the before and after pics.
Ready to go...or are we?
So now our interior is beautiful and complete and Murray suggests that we get a mechanic to look it over before we set out. Good thinking babe! That's why I married you. Wink. Wink.
Well, as with all our other projects, it turned into a several week process and put us behind on our departure date. It turned out there was some leaking of the rear brakes and the rotors need to be resurfaced. Apparently this kind of problem may have evolved into setting our RV on fire, so we were super thankful to have found it!
After that was fixed, all we had to do was load up and grab the dogs! We had no idea the next challenge we would have to face. Click here to find out.